How To Properly Add Background Images To Your WordPress Site

Adding a background image to your WordPress site is easy. Right?
For the most part, yes. Unless your theme doesn’t support it. Truth is, many WordPress themes today have quick and easy settings for adding or changing an existing background image. As do the default WP appearance customizations.
You can also change the background using CSS or through various plugins, opening up options for setting a background image on pages, posts, and categories.
In this article we’ll show you how to do all the above, and make your site stand out with an eye-catching look of your own choosing.
Why change your background? Well, the image your theme defaults to might not appeal to you, or feel like it jives with your branding. Or, maybe it’s not an image at all, just colors. Or perhaps you loved the image originally, but you’ve gotten bored with it.
Add a Background Image Using The Default WordPress Customizations
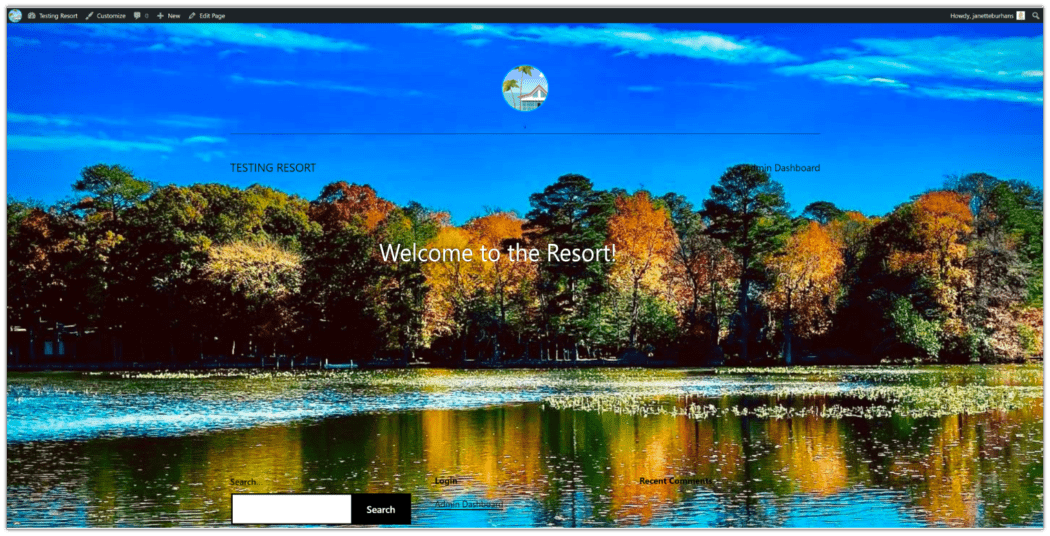
WordPress themes can have a colored background or default photo in the background. Most people choose to replace these with an image and/or colors that better suit their taste and site branding.
To add a background image in the default WordPress editor, you’ll need to follow these steps:
- From the WP dashboard, go to Appearance > Customize > Background Image or Appearance > Background/Background Image.
- Click on the Select Image button to open your Media Library.
- Choose desired image, either by uploading from your computer or by selecting one from your media library.
- Once you have the image you want selected, click on the blue Choose image button.
- In the top window of the left-side menu, you’ll see your selection populate. To the right, you’ll see a full-size preview of your sites’ home page, with the background image.
If you like what you see, click the blue Publish button in the upper right hand corner, and you’re done!
If you want to change the way it looks before finalizing, there are a number of settings and options you can play with to find your preferred look.

The background image menu editing tools, along with their associated options, are as follows:
- Preset
- Default, Fill Screen, Fit to Screen, Repeat, Custom
- Image Position
- Center, Top Right, Middle Right, Bottom RIght, Middle Bottom, Top Left, Middle Left, Bottom Left, Middle Top
- Image Size
- Original, Fit to Screen, Fill Screen
- Repeat Background Image – checkbox
- Scroll with Page – checkbox
Play around with the editing tools to see what size, pattern, and position you like best. Selecting any of the dropdown options from the submenus will give you the resultant preview of your page on the right.
Don’t worry about being stuck with anything. It’s easy to go back in settings and change the background image (and related options) anytime you like.
Add a Background Image Using a Plugin
fine-tuned control over what images are used, and where.
So go ahead, and get creative with your backgrounds. Make a thematic impact, and keep your visitors visually engaged.

Simple Full Screen Background Image provides easy install and setup of a full screen image as the background of your website. It scales images automatically with the browser, which means the image always fills the screen.
Putting it into action requires only a few simple steps. There is a paid/pro version available that adds other features, but the free version is all we need for this exercise.
Let’s use the plugin now to add a full screen background image.
- Install & activate the Simple Full Screen Background Image plugin.
- From the WP dashboard, go to Appearance > Fullscreen Background Image.
- Choose desired image, either by uploading from your computer or by selecting one from your media library.
- Once you have the image you want selected, click on the blue Use Image button.
- Click on the blue Save Options button, and check out your site.
There you have it! The image should now be showing on your site as a full screen background image.
I wanted to mention this plugin’s settings for background image overrides the default WP customize background settings. This isn’t a bad thing, just something to note.
Setting a background image for single posts, pages, categories, tags, and more with this particular plugin is possible, but will require purchasing the pro version.
Add a Background Image Using CSS
Now we’re going to explore how to change the background image using CSS code. This can be done to make a background that is site-wide or for a specific category―using the WP theme customizer.
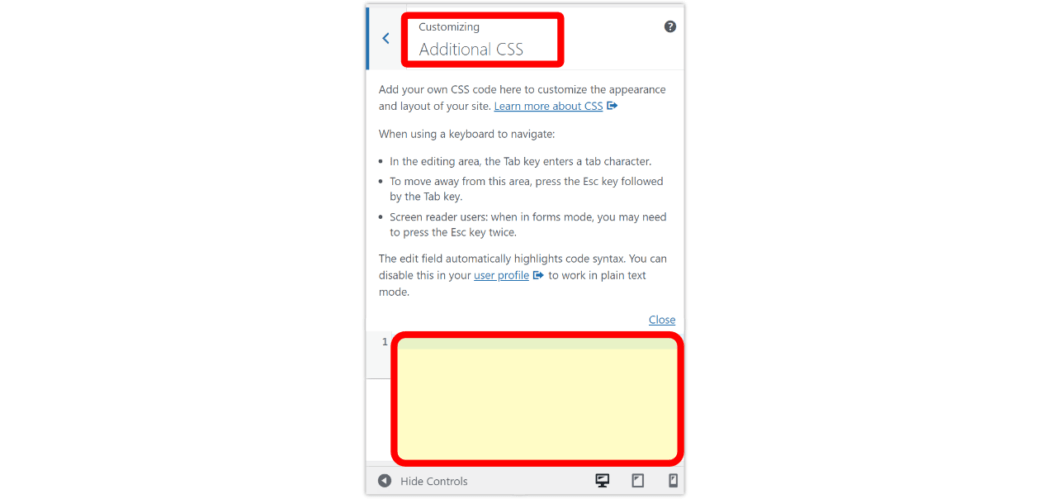
- From your WordPress dashboard, navigate to Appearance > Customize.
- Scroll down and click on Additional CSS.
- Paste the appropriate code in the CSS field as follows.
Back(ground) to Basics
Adding backgrounds to your WordPress site may seem like a small thing. But if done properly, it can make a big impact. It can also help keep your online presence fresh, so visitors don’t get bored always seeing the same pictures over and over again.
It’s ideal to use the built in customization of a theme’s functionality for adding background images when it exists, as it’s specifically designed to work as coded.
However, you do have other options when it comes to putting WordPress background images in place. WP core customization, plugins, page builders, and CSS tweaks, all make it possible to get fine-tuned control over what images are used, and where.
So go ahead, and get creative with your backgrounds. Make a thematic impact, and keep your visitors visually engaged.